
Trabuco Canyon - Bell Ridge Loop
Wow! The Trabuco Canyon - Bell Ridge loop a bunch bigger than the 20+ mile distance would leave you to believe. Located in the southern reaches of the Santa Ana Mountains this ride will have you climbing up through Trabuco Canyon and the traversing along the ridgeline spine between Bell and Trabuco Canyons. With about 4,400 feet of climbing on often steep up-and-down terrain you are sure to feel like you have gotten your monies' worth of cardio training. Don't care about the cardio stuff? Well then you are sure to get excited about the incredible views in all directions that you can enjoy throughout most of your time on Bell Ridge. This ride is no joke as it taxing physically and can be quite technical in many spots. You need to be in pretty good shape endurance wise and possess sound technical riding skills to take on this ride. While I typically refrain from using general characterizations, terms like advanced, expert and black diamond come to mind with this loop.
Directions:
- From San Diego Area - Take the I-5 north. After passing through San Juan Capistrano and just as you near the Mission Viejo area, take the Oso Parkway exit. Turn right and take Oso Parkway east for 2.5 miles. Turn left on Antonio Parkway and take it north for 5.6 miles. Turn right on Santa Margarita Parkway and 2/10ths of a mile later turn left on Plano Trabuco Road. After .6 miles the road will turn to the left and become Trabuco Canyon Road. After traveling .8 miles and you will see a dirt road on your right just before a small bridge. Turn in here and park in the large open dirt area.
- From LA/Orange County - From I-5 take Lake Forest Exit East for 4.5 miles. Take a right on Portola. Then Take a left on Glen Ranch At the T-intersection, Make a left on El Toro Road. About a mile down the road, Make a right on Live Oak (Cooks Corner) and follow that 4.5 miles. After you cross Trabuco Creek turn left onto the dirt road where there is a large dirt area. Park Here.
 Map: Here is the map of this ride. It is PDF formatted for printing on 8.5" by 14" sized paper.
Date Files: Raw GPX, Garmin GDB, Google KML, National Geographics TOPO
HAZARDS: This is NOT a Beginner/Intermediate trail. This is a strenuous route with many technical sections. There are also many loose sections were the penalty for failure is high.
Ride Notes:
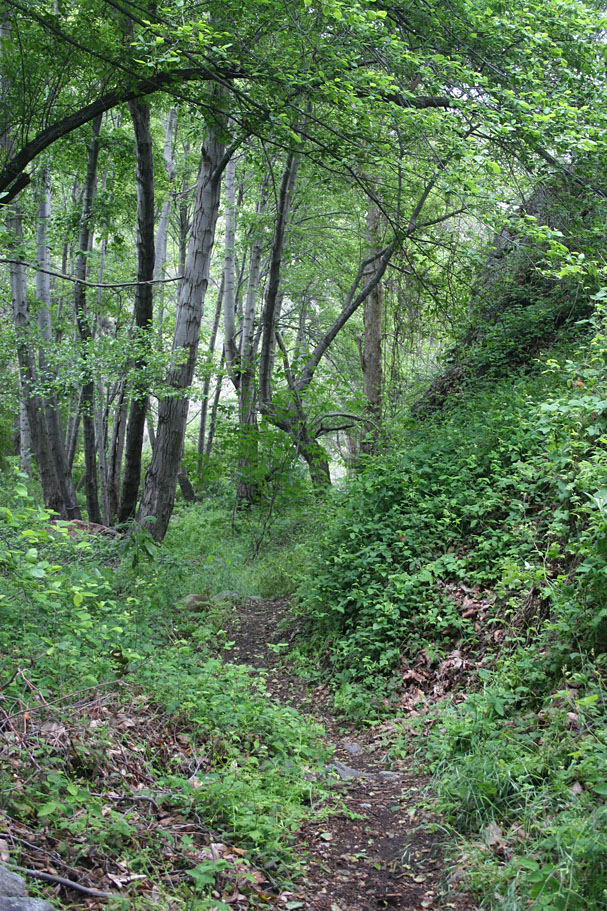
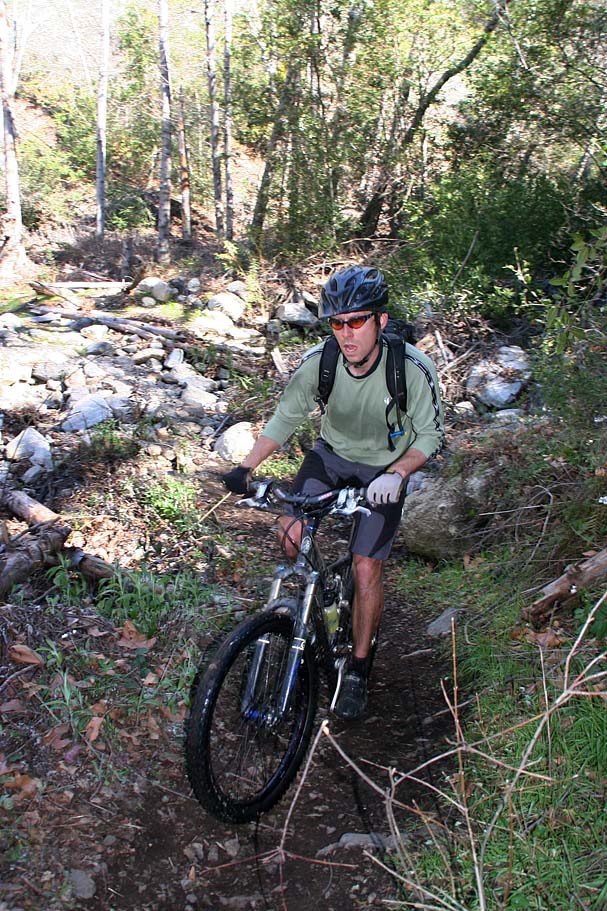
The grade immediately is "kicked up a notch" and starts getting really tricky to climb in spots with patches of loose shale rocks that requires a bunch of finesse while extracting some extra energy from your legs. The grinding continues on for a couple miles but it feels like more. Sometimes the trail downright skinny while it hangs along the edge of some steep drop offs.
As you near the top of the trail around 9.9 miles you will enjoy the canopy of trees and other vegetation as well as the grade mellowing out. Within 20 yards of reaching the junction of the Main Divide Truck Trail at 11 miles you will pass the junction of the Los Pinos Trail off to your right. Although it is signed with a brown metal post it can be easy to miss as you will most likely be fixated on the top of the trail that you can see ahead. Continue on past this trail for the time being and take a well earned break out in the large open area on the Main Divide Truck Trail.
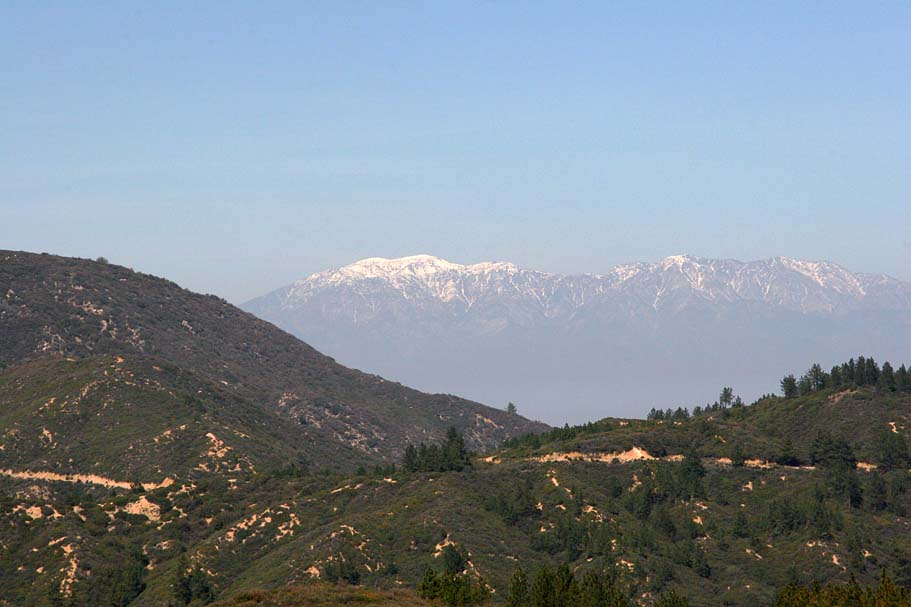
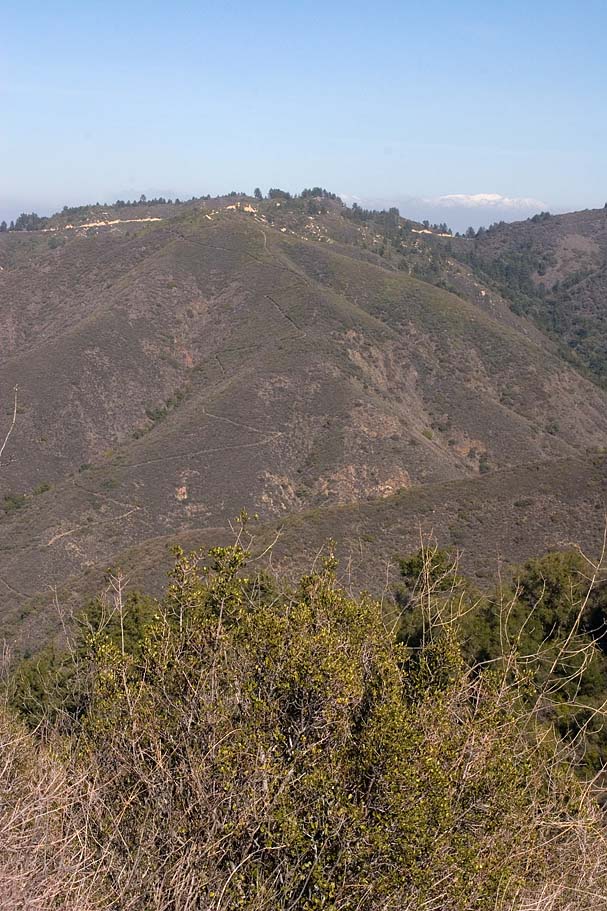
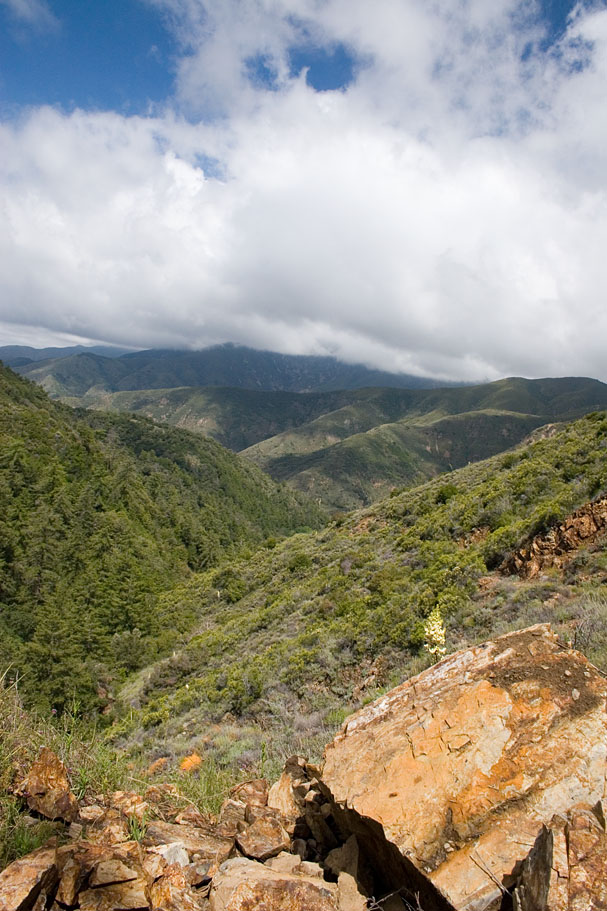
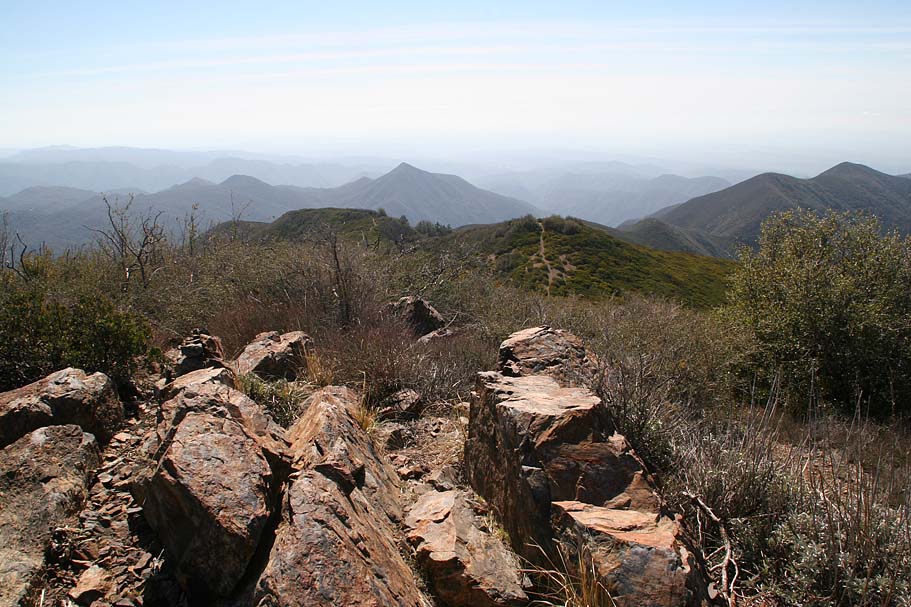
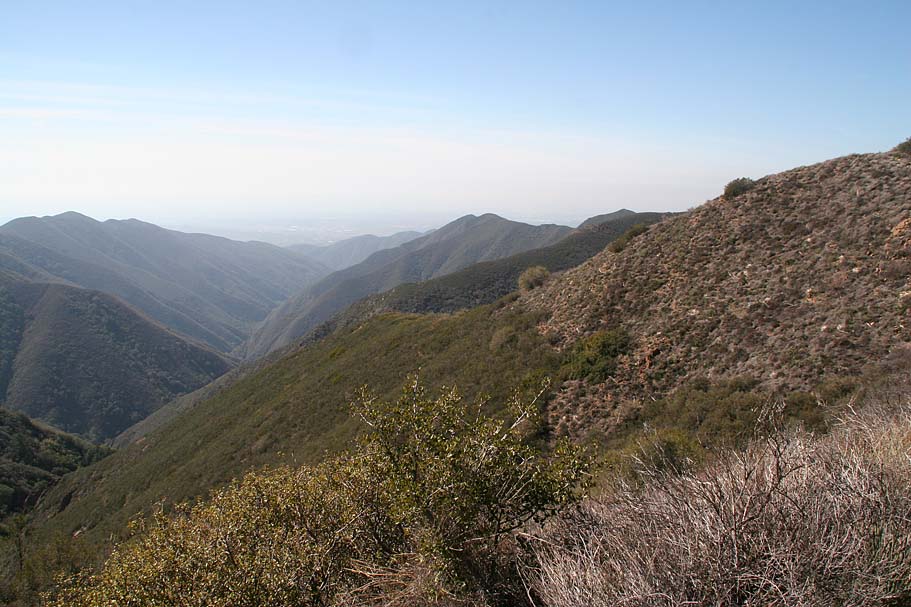
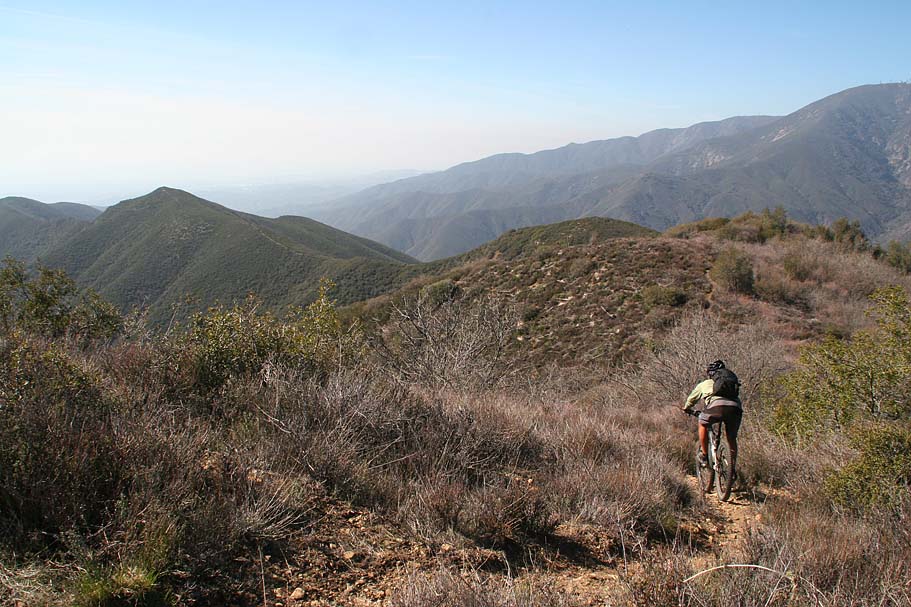
The views along this first section are pretty awesome as you can easily see the San Bernardino Mountains, Lake Elsinore, Santiago Peak as well as other points of interest. From this vantage point you get a really good look at the section of Main Divide Truck Trail between the Holy Jim and Trabuco Trails. It really gave me a better appreciation of the elevations changes on that loop.
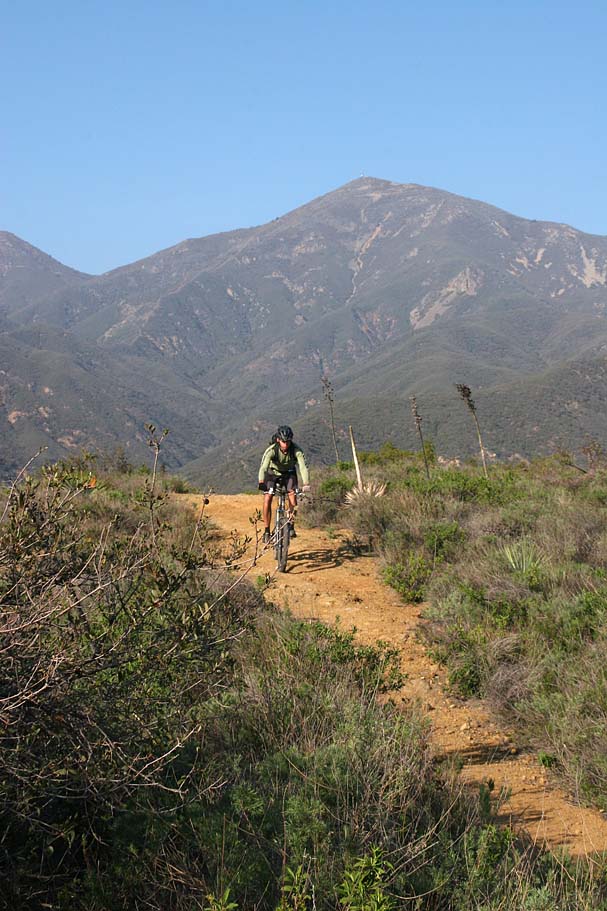
Santiago Peak and the Main Divide Truck Trail
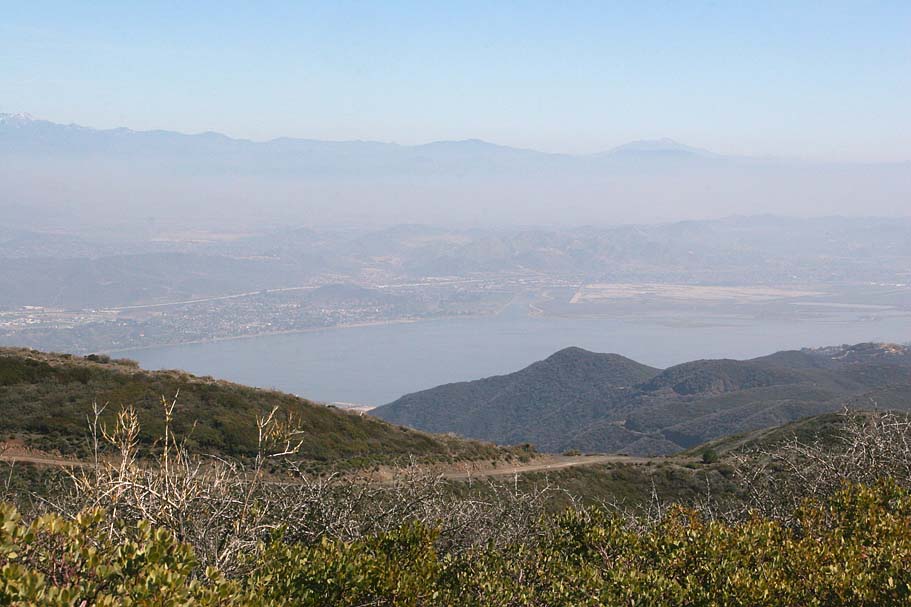
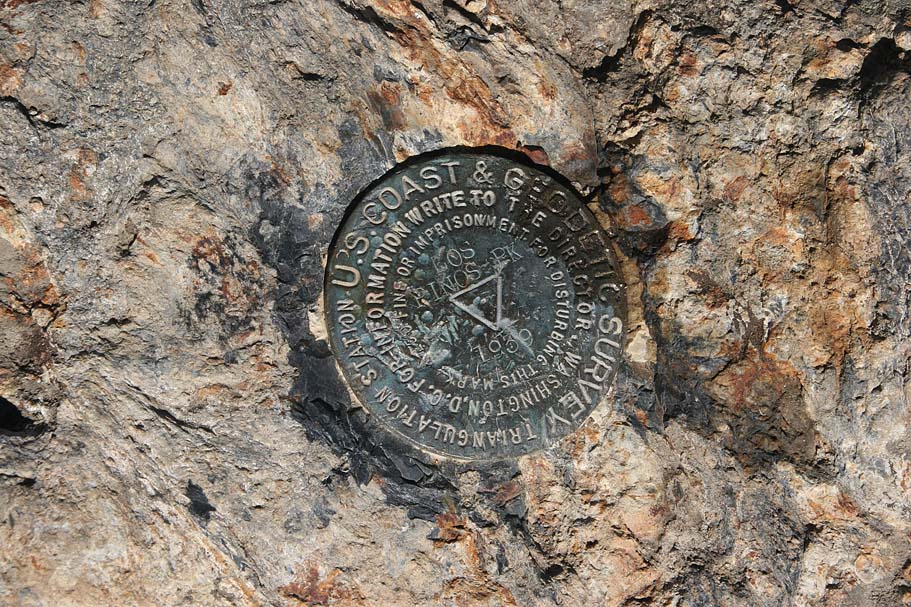
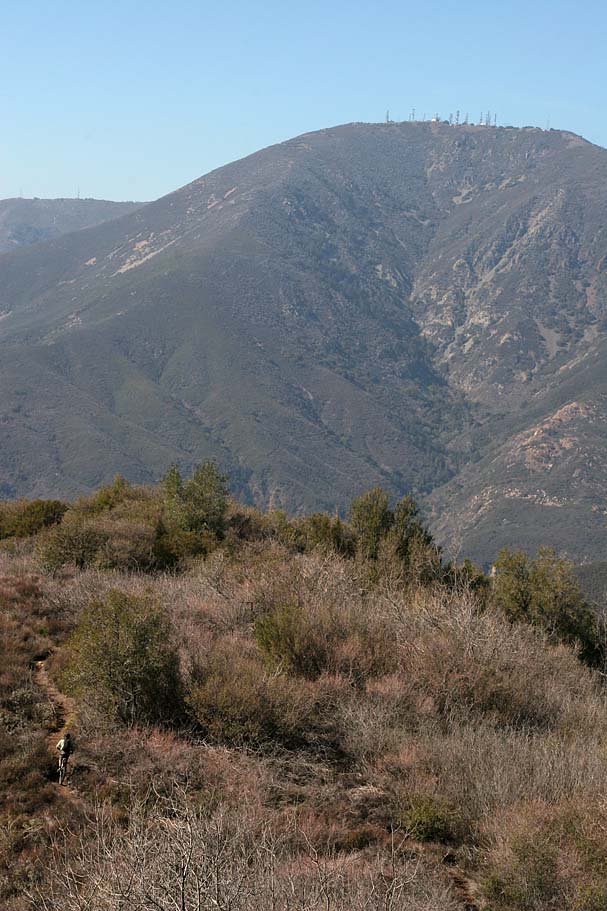
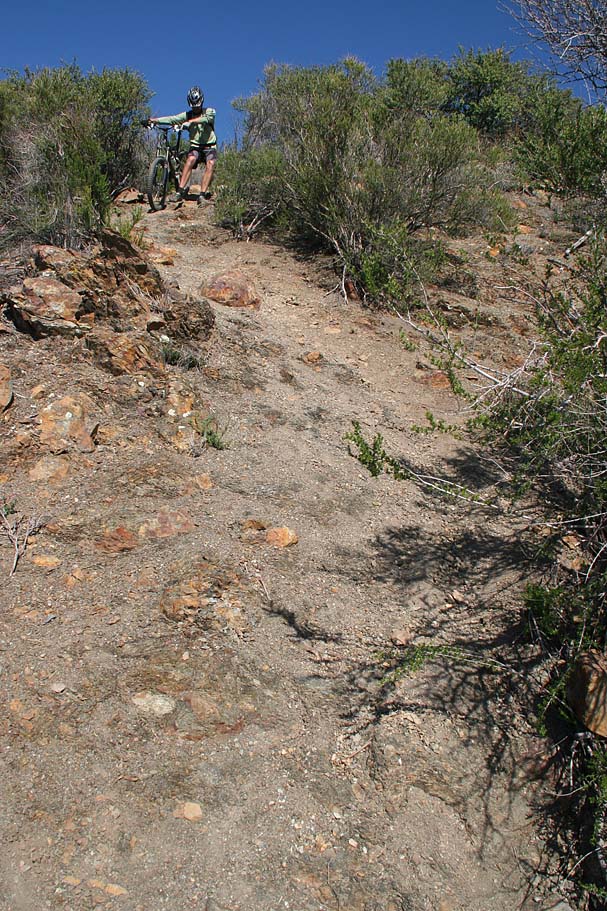
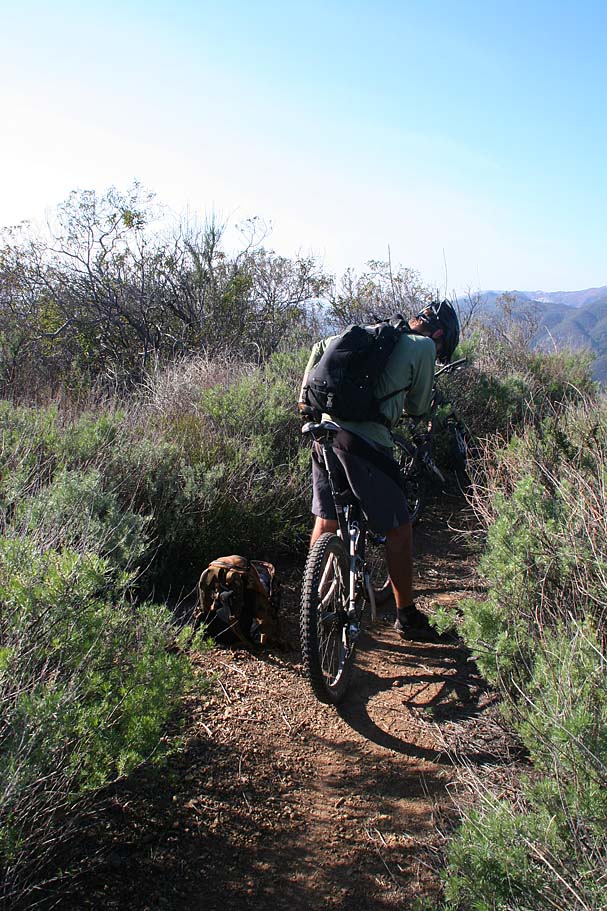
About 20 yards before you reach Los Pinos Peak at 4,510 feet, you will see a small unsigned trail splitting off to your right. (BR-1 on the map). This is the Bell Ridge trail and you are going to take it. (Refer to the picture on the right) However before you do that, go a short distant further on the Los Pinos trail out to peak and enjoy the great view. There is a rocky outcropping on the peak that you should hop onto to get the best views. Looking off to the east you can see the Los Pinos trail diving and climbing across the many peaks of that ridgeline. If you have ridden the San Juan Trail before you should notice the terrain to the south and southeast as the area where that trail transverses.
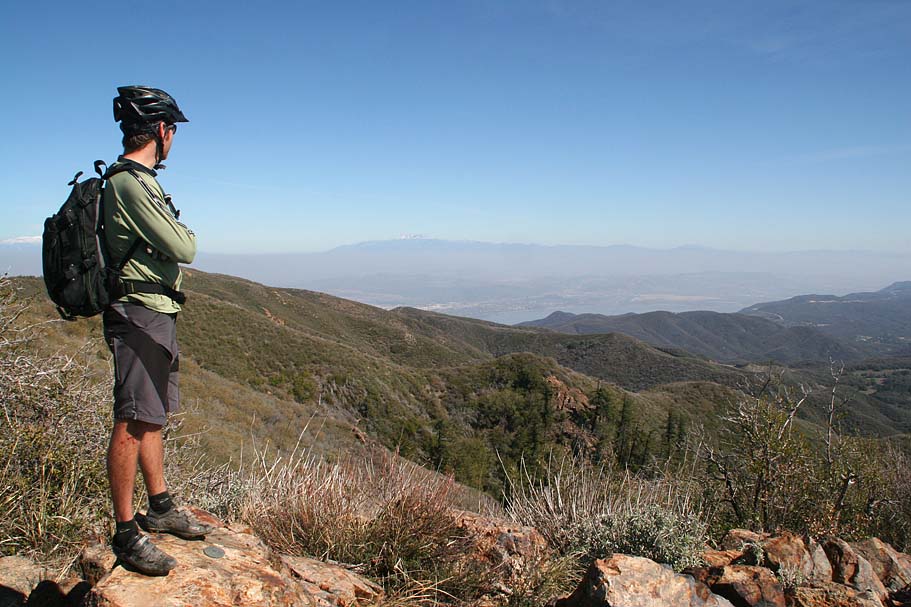
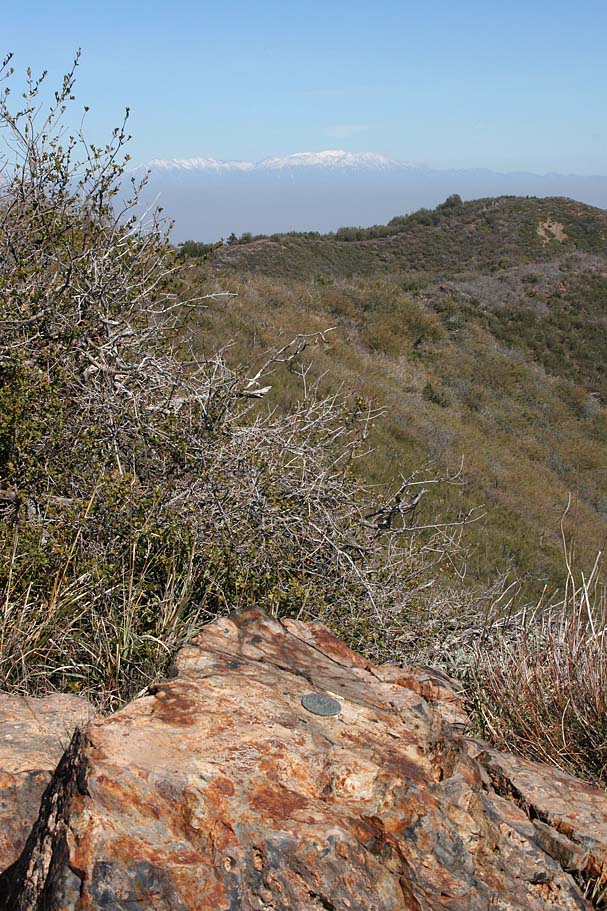
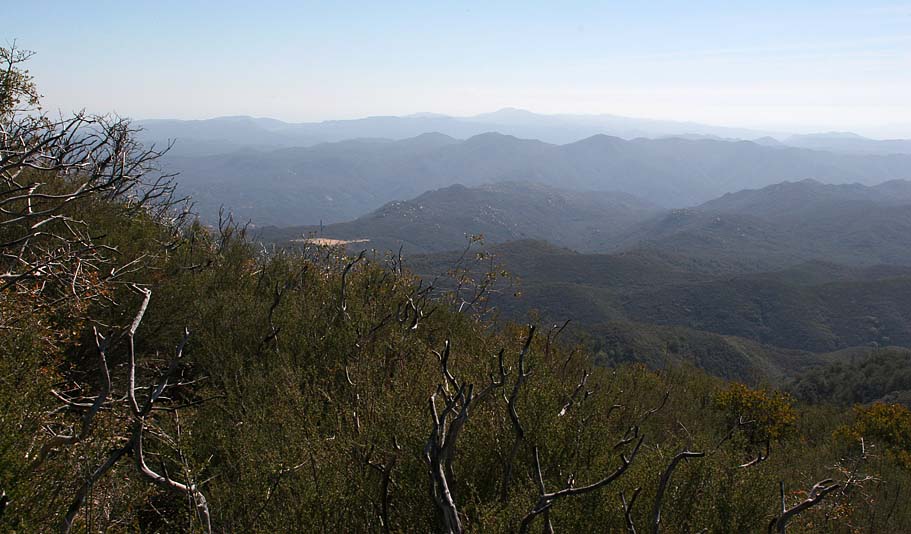
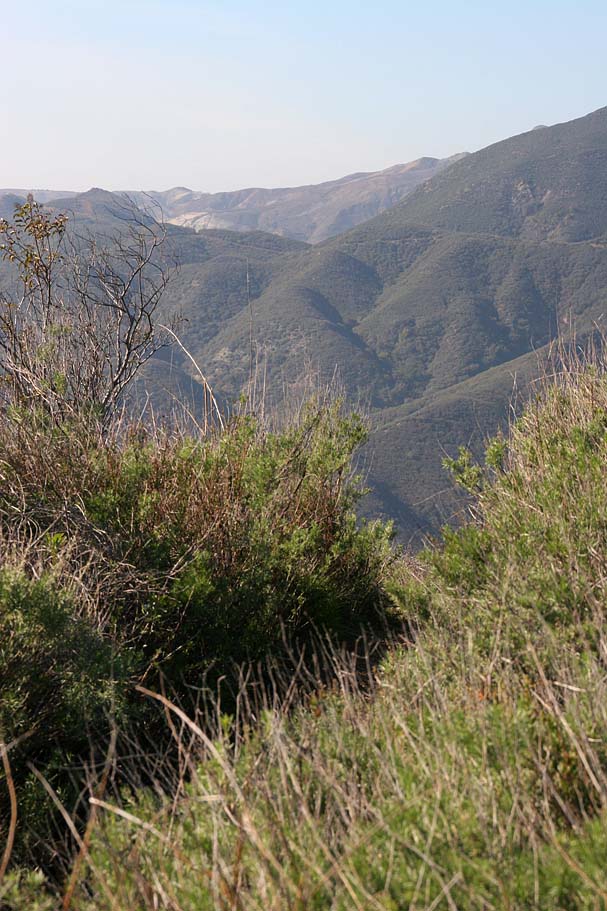
A few of the views from the Los Pinos Peak
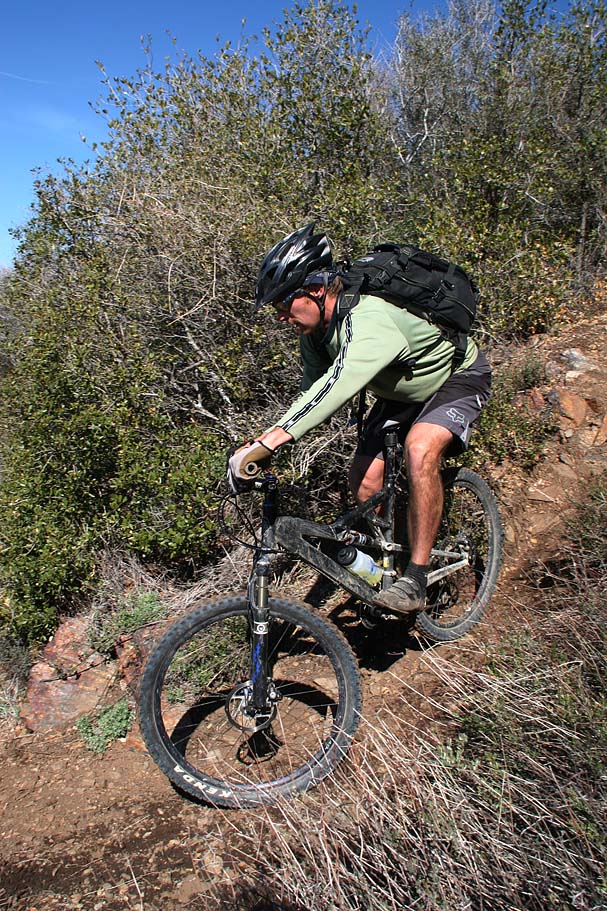
After you have soaked in enough of Los Pinos Peak take that skinny right. First a word of advice, dropping your saddle at this spot will be really helpful as you are in for a bit of steep descending. In the next .8 miles you are going to drop over 700 feet and climb over 100 feet. That is an average grade of 18% with some sections being as high as 24%. The trail is also not some straight line bomb shot. This trail is often twisty with some some small drops requiring that you keep your speed in check which is not an easy task at these grades. Personally when I'm dumping this much elevation, I like to be ripping. That is not the case here and I felt like an eager dog with a chock chain around my neck.
After the first major shedding of elevation, there is some more up and down action with an opportunity for hike-a-biking as you approach Waypoint BR-2 on my map at 13.2 miles. You know you are there when you go "Holy S#*T that is a wall!" Right as you get to the top of this hike-a-bike you will notice a very small trail going off to your right. This trail goes down to Yaeger Mesa. I have not ridden this trail but looking at the thin brown lines spaced closely together on the topo map, it would most likely be a hella steep drop down to that mesa. (As if the stuff we had just went down was not steep enough)
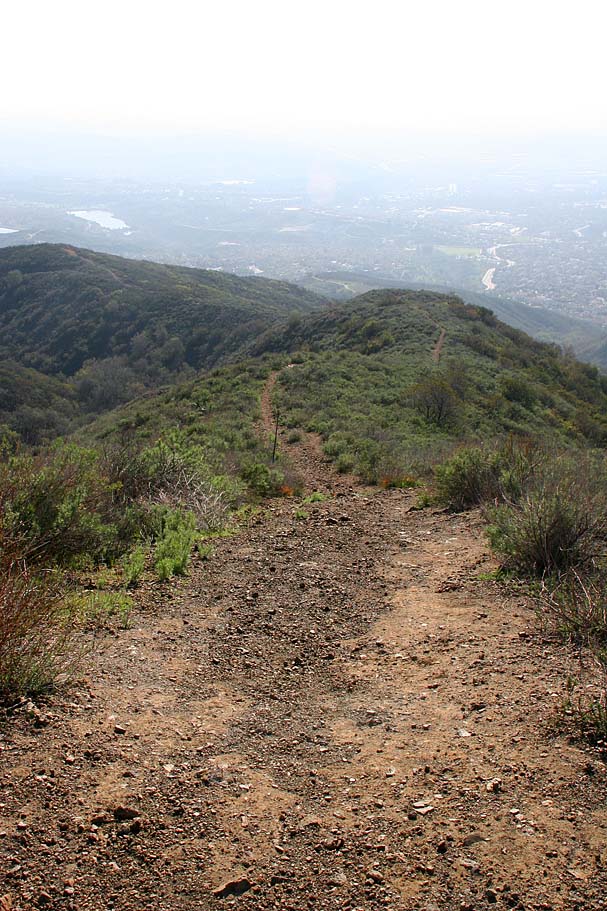
For the next 4.3 miles there are no turns of splits, just a bunch of ups and downs and at least two more hike-a-bike up sections. By this point in the ride I was sold on the idea of checking out one of those remotely adjustable seat posts like the Gravity Dropper or Maverick Speedball. There is also one gnarly downhill section that almost all riders will take pause at to contemplate their route down. It is hella steep and long with a combination of tight turns, loose sections and small drops. Screw up any section and there is a fair chance you could get hurt beyond something minor. Somewhere around the 16 mile mark the grade lessens up and the sightlines get better allowing for some welcome let it hang out sections. Hella Fun!
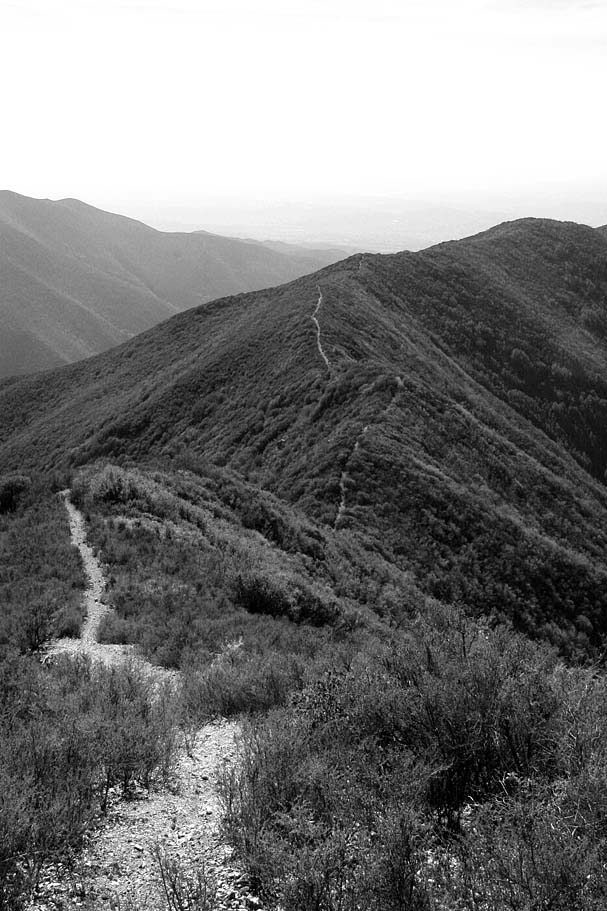
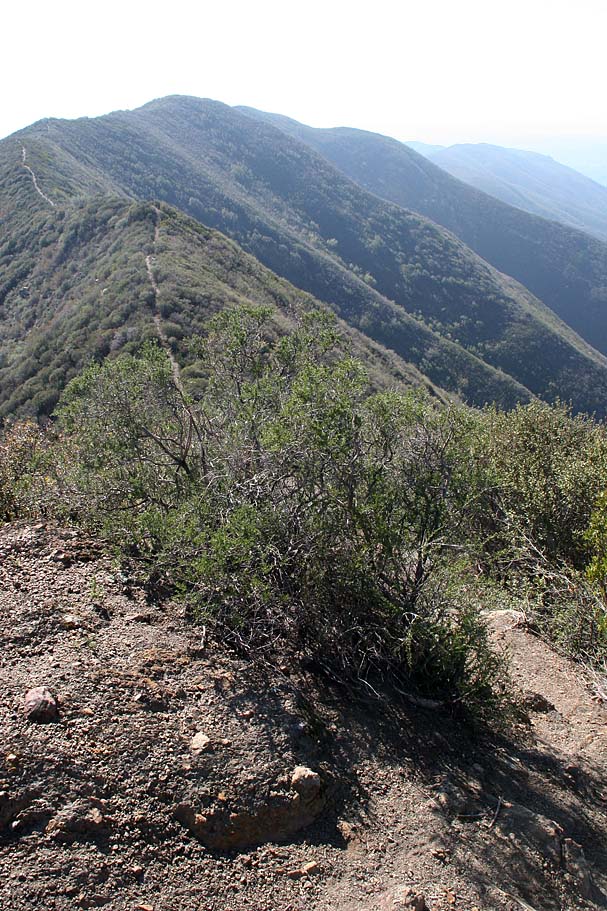

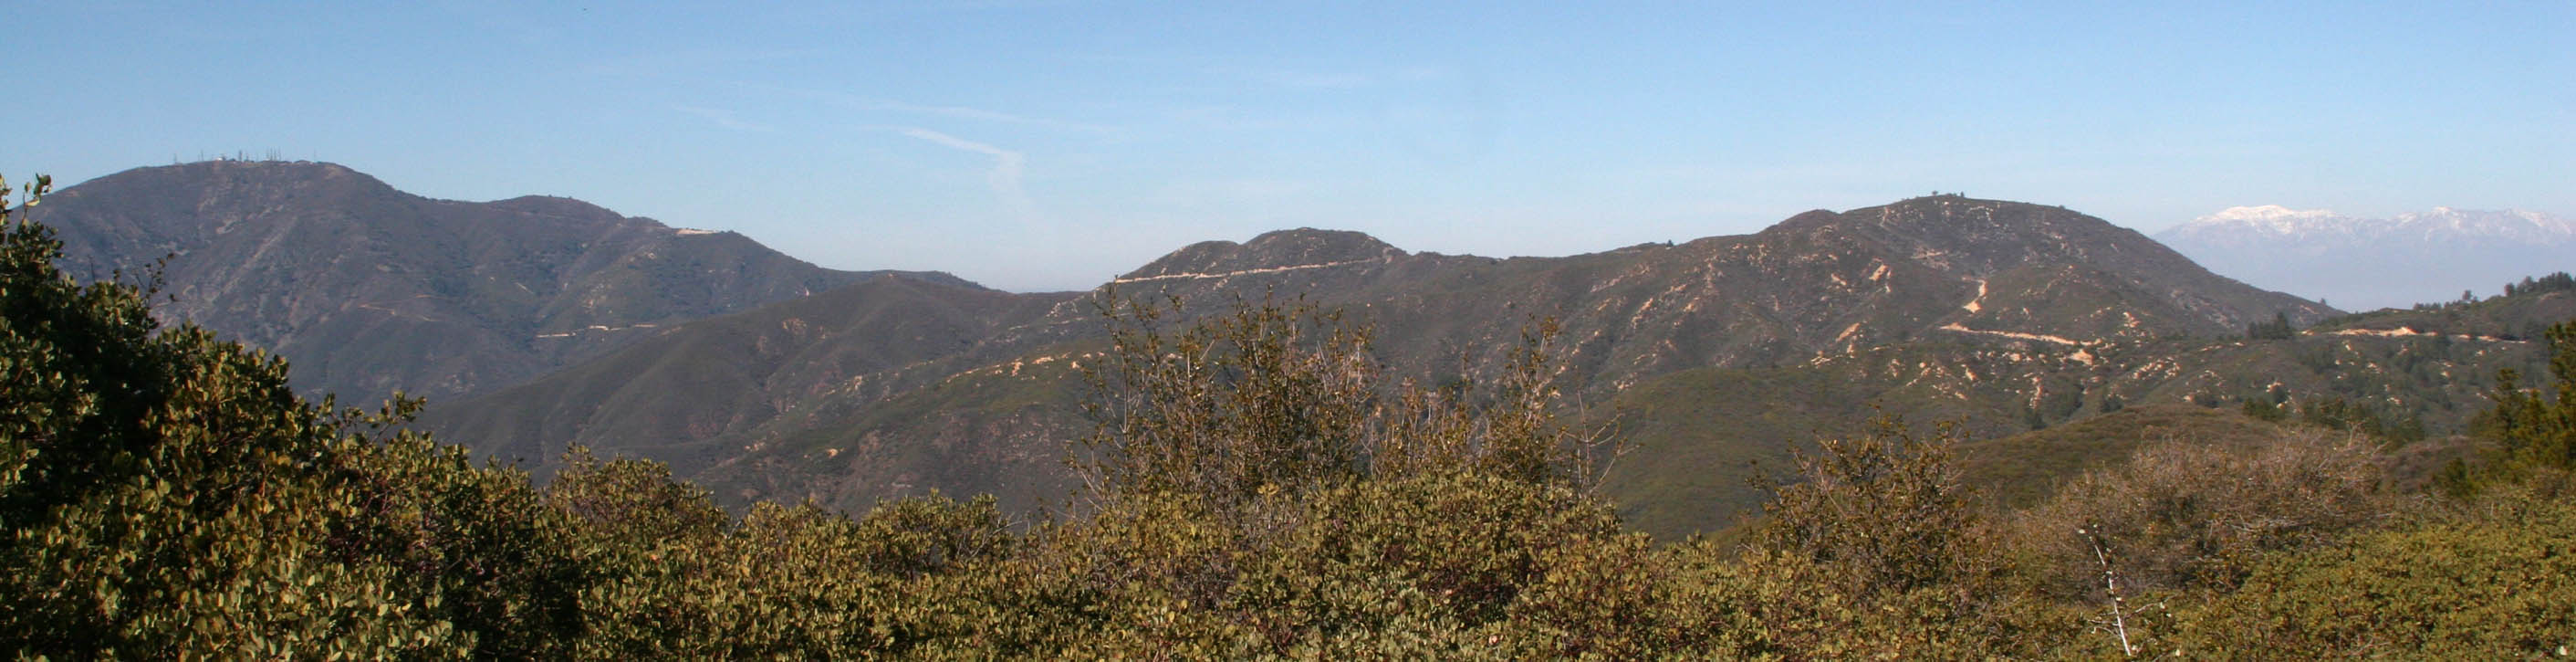
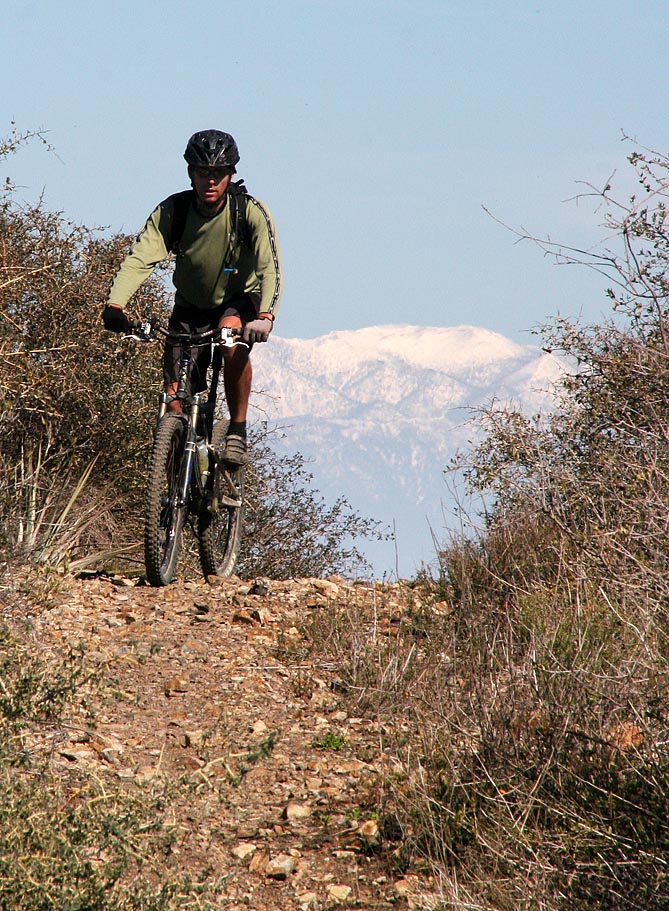
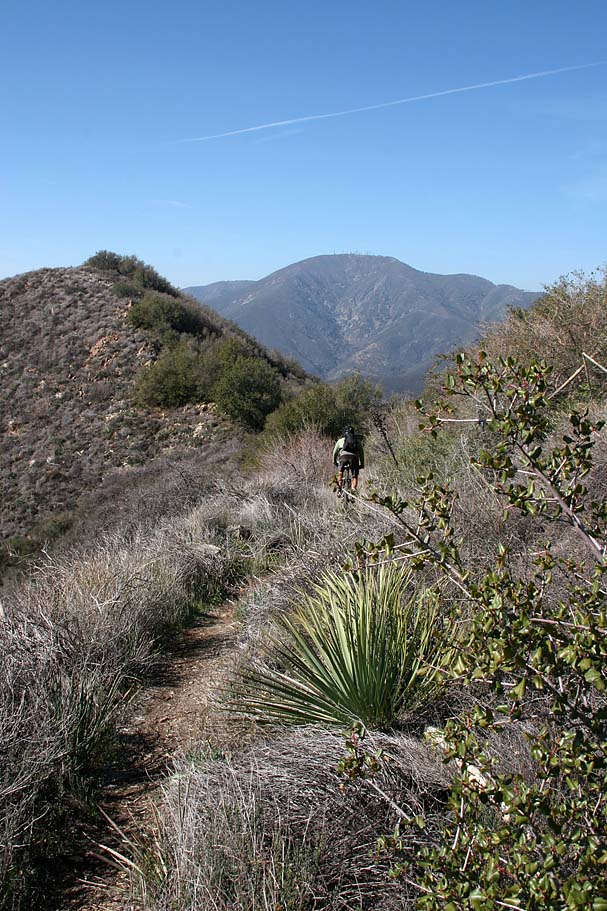
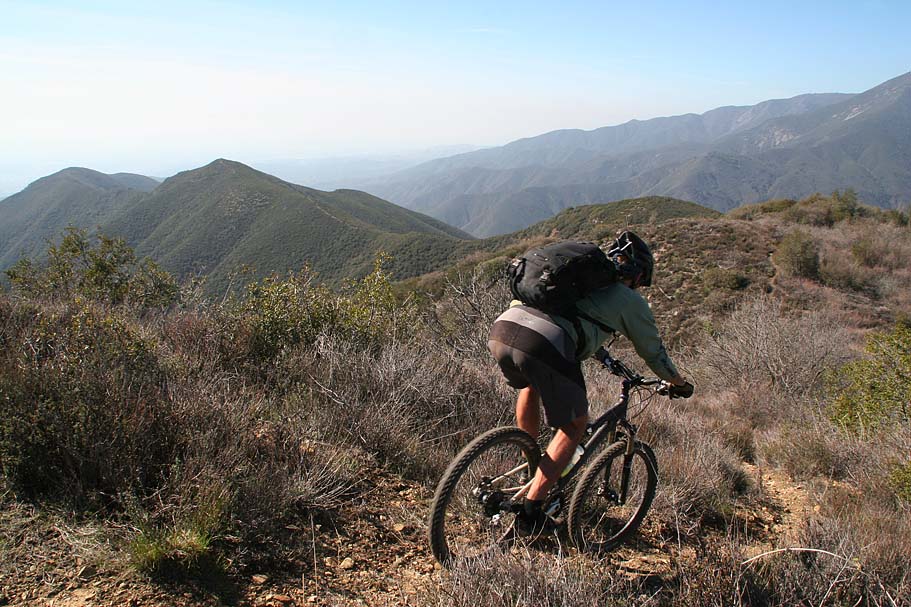
Some of the views from along this section of the Bell Ridge Trail.
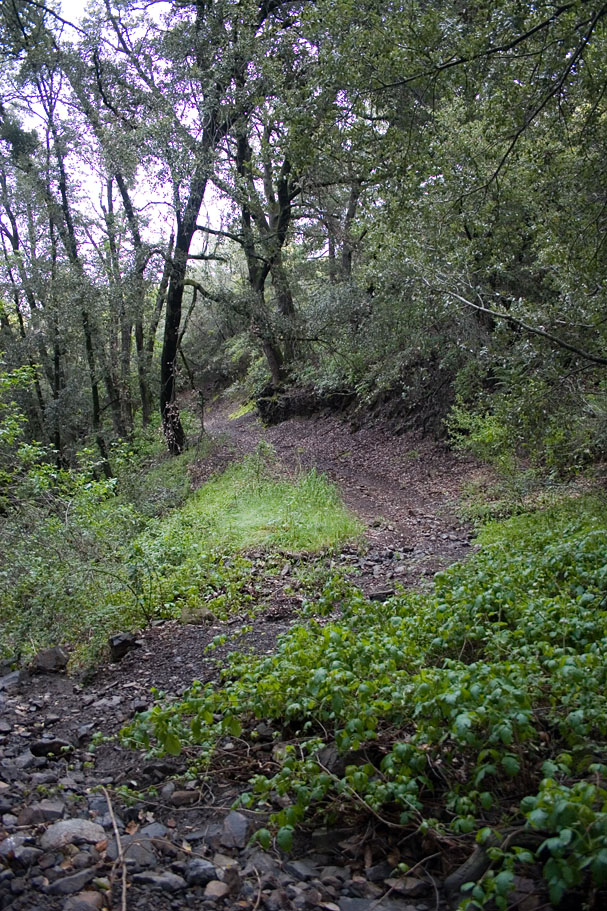
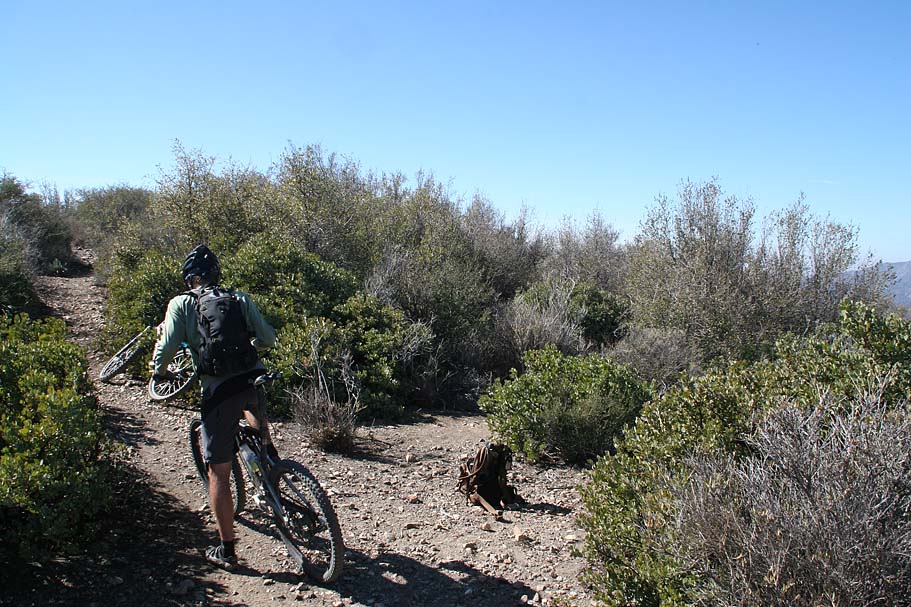
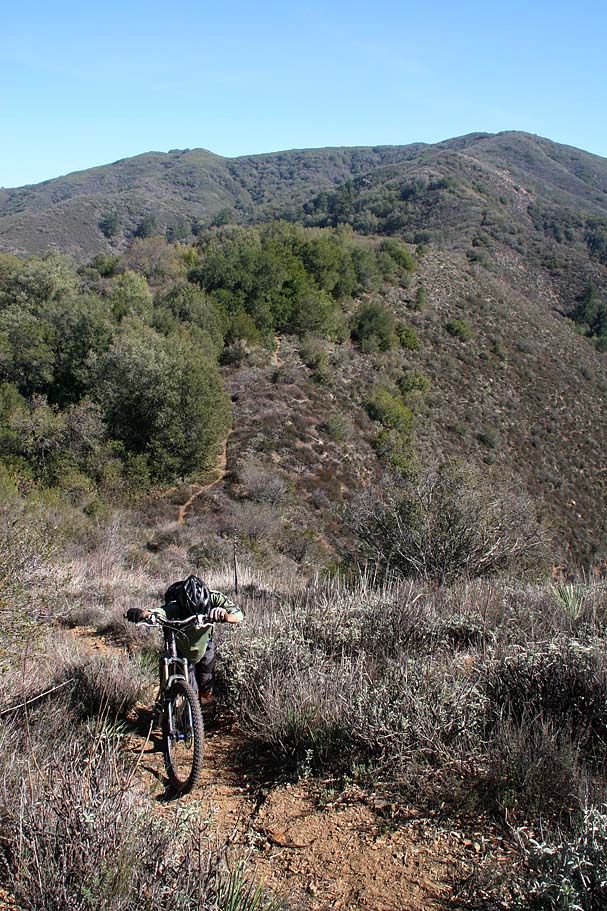
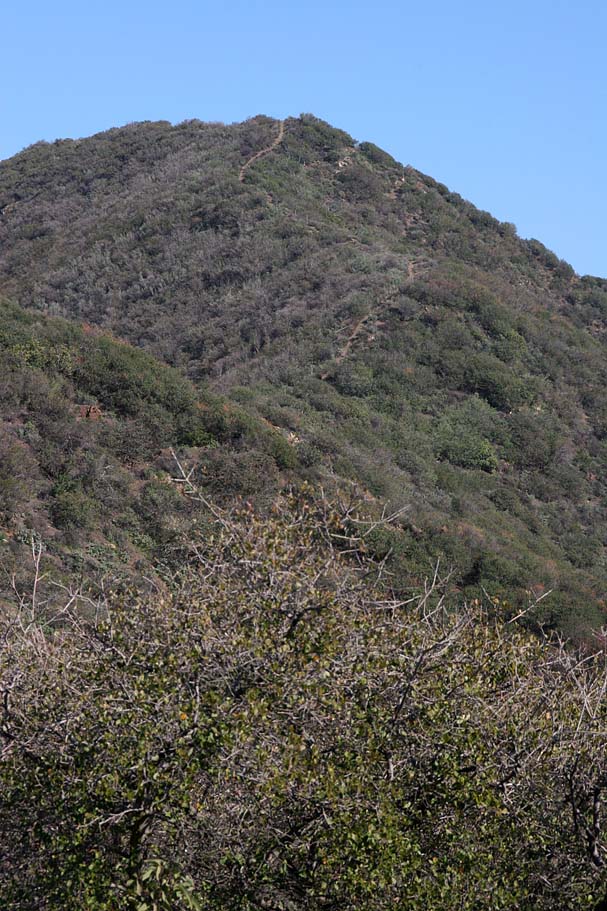
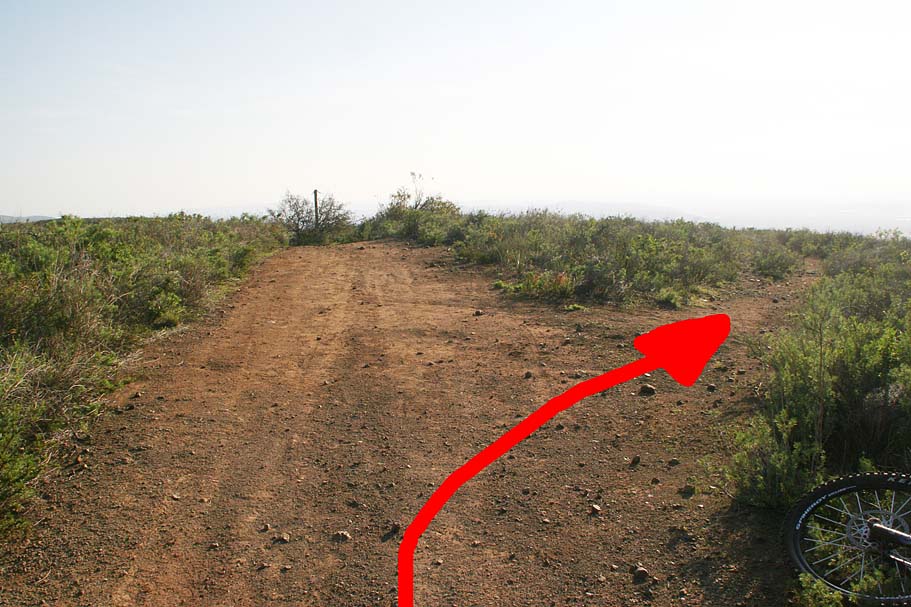
At around 17.2 miles on my map, you will notice a very faint trail going off to your left. Don't go that way, you want to stay on the main trail. (Refer to the picture to the left)
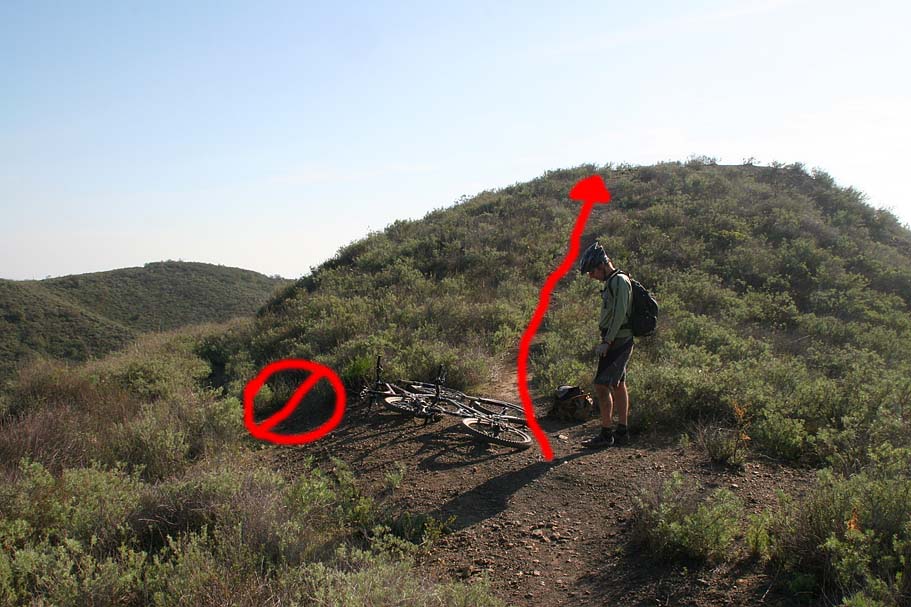
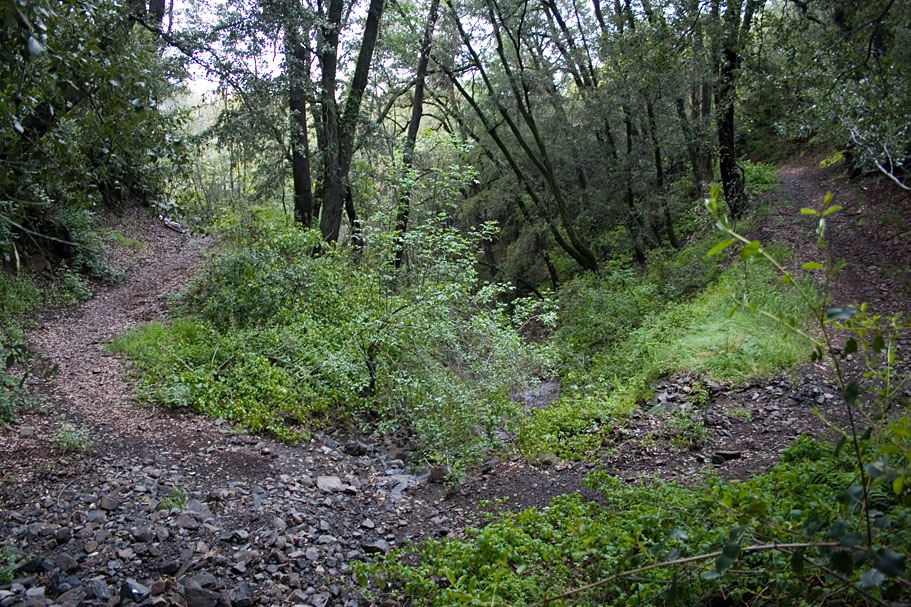
At around 17.5 miles (Waypoint BR-3) you will come to a rise in the trail with a smaller trail splitting off to the left and downhill. Stay on the main trail going straight and climb the small rise. (Refer to the picture to the left) Once over the rise the trail once again turns downhill. You will have a nice run with a few technical sections that are really fast as you dump about 540 feet in the next 8/10ths of a mile.

This brings you to another split in the trail at Waypoint BR-4 (18.3 miles). There is a trail staying up on the ridge to the left and a trail that goes off to the right and sharply down the hill. Go to the right and head down this bit of steep and rocky trail.
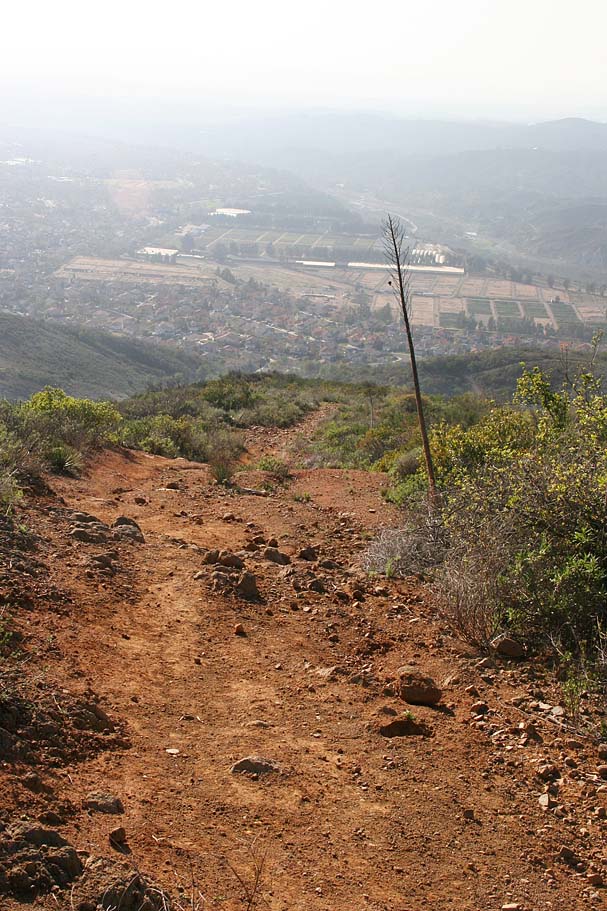
The trail will mellow out a bit just before it comes out onto a fireroad. Hang a left and about 30 yards later hang a right onto a single track. This singletrack is also fairly steep, but has been urbanized a bit due to the nearby homes below that you can now see. There are a couple of small jumps as well as some optional larger jumps. You will also find a couple of bermed turns that are fun. This trail will go into a 20 yard long concrete culvert going down the side of the hill into a neighborhood. Ride the culvert down and the roll out to either side of it at the bottom and out onto the street. The street is Mayfair and you will want to continue traveling in the direction that the culvert was pointing. (West) You can see a T-intersection just down the street. Hang a left when you get there onto Raintree Lane. A little over a quarter mile later hang a right on Robinson Ranch road. Roll downhill for about a mile and hang a right on Plano Trabuco Road. The road will soon make a left hand turn and turn into Trabuco Road. It is pretty much a straight and slightly downhill section of road for a little less than half a mile. Where the road make a sharp left continue straight around a couple of concrete barriers and pick up a final small chunk of downhill dirt before rolling back into the parking area where you started your ride.
I really liked the Bell Ridge trail but it was more from the perspective of the challenge more so than from an unabated fun aspect. While the views alone were well worth the price of admission, this the kind of ride that most people would like hitting maybe a couple of times a year more so than every other weekend. While ridgeline trails like this are an acquired taste, Bell Ridge is certainly worth taking a taste of at least once.